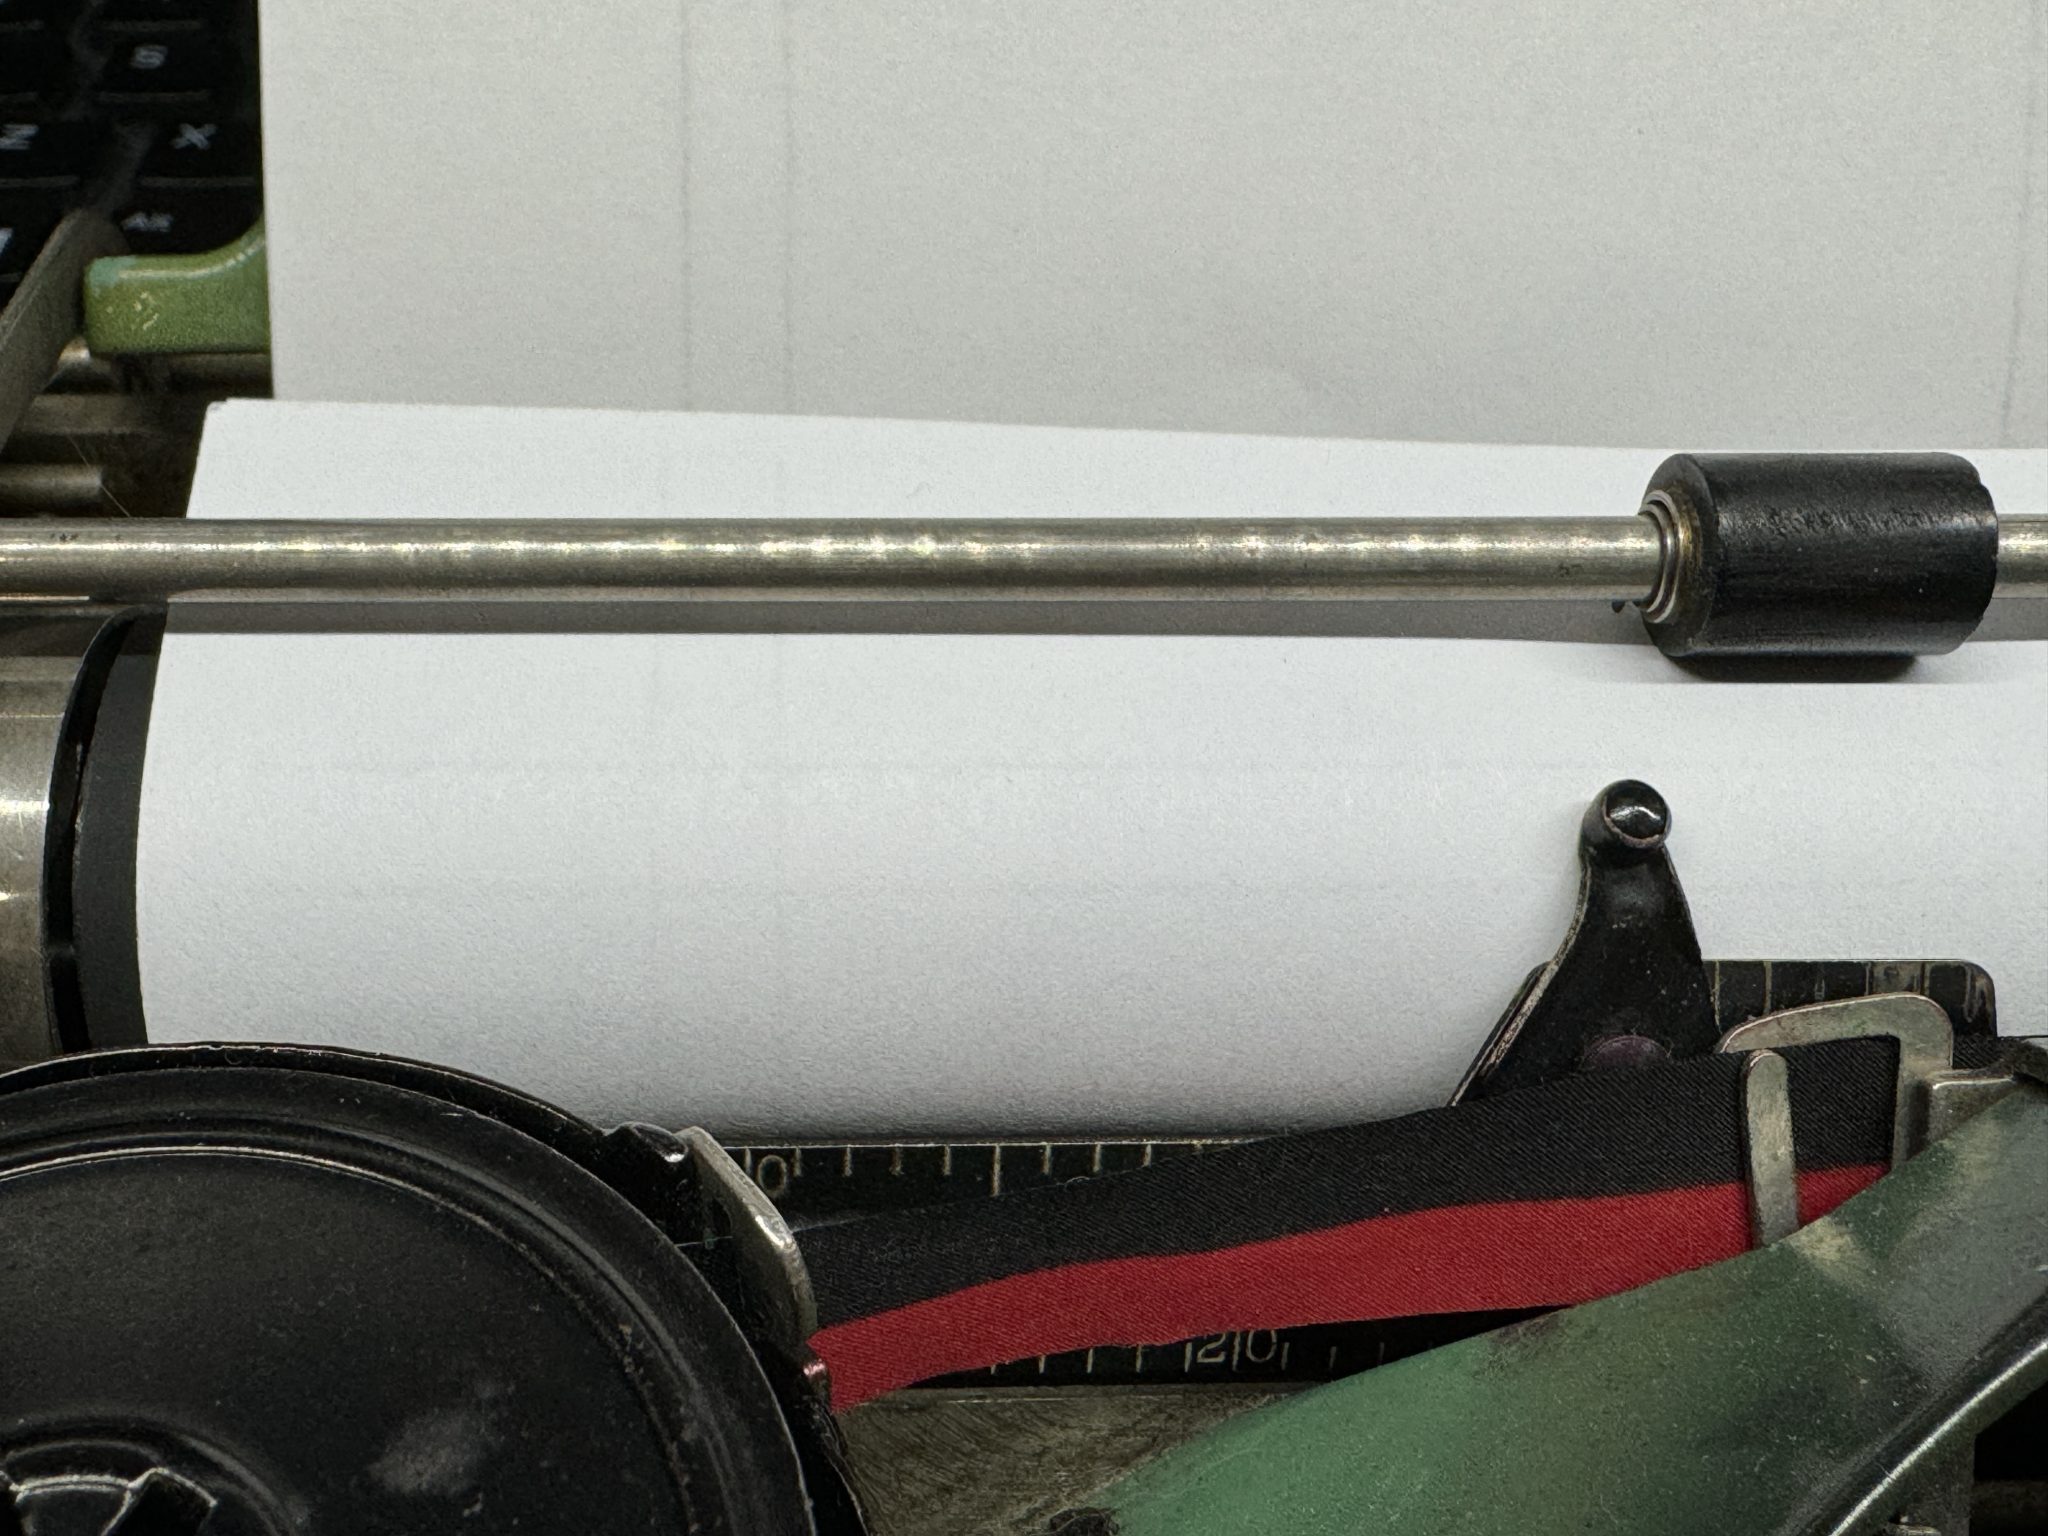
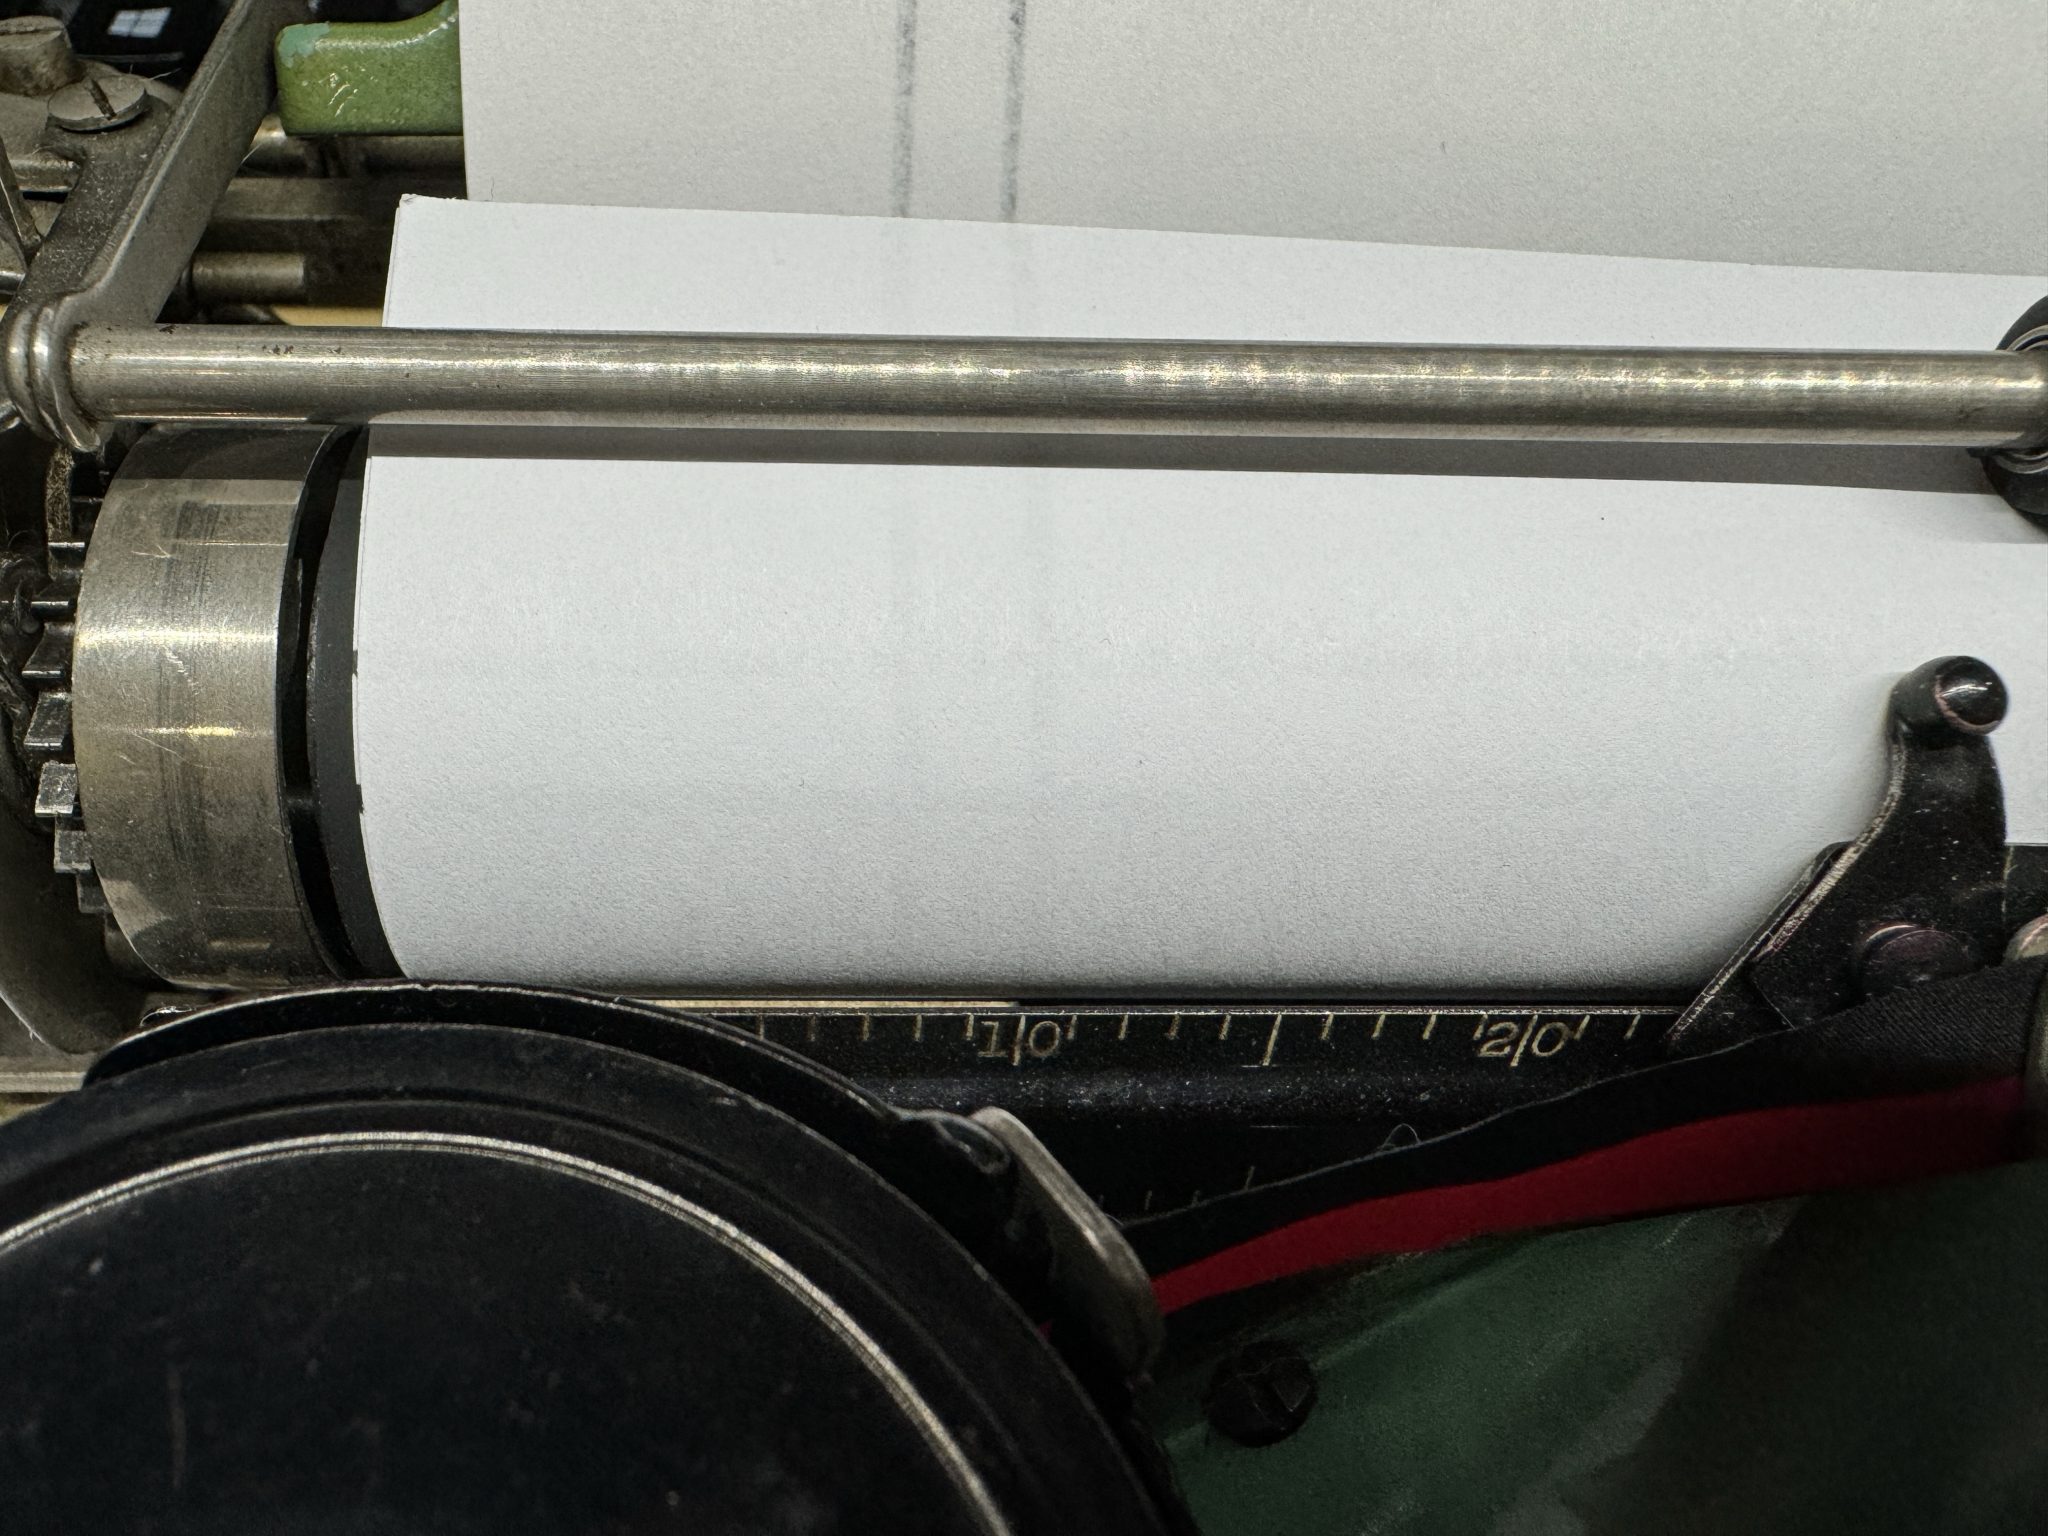
Do you ever wish you could turn on margins when using your typewriter? It’s simpler than clicking a button on your old word processor. All you need to do is use a specific backing sheet when typing. Using a backing sheet is a good idea to help protect your platen when typing. Even when using a decent typewriter paper 24 lb / 90 gsm or higher. Although while using a 24 lb paper, it makes it a little tougher to see the margin lines from the backing sheet.
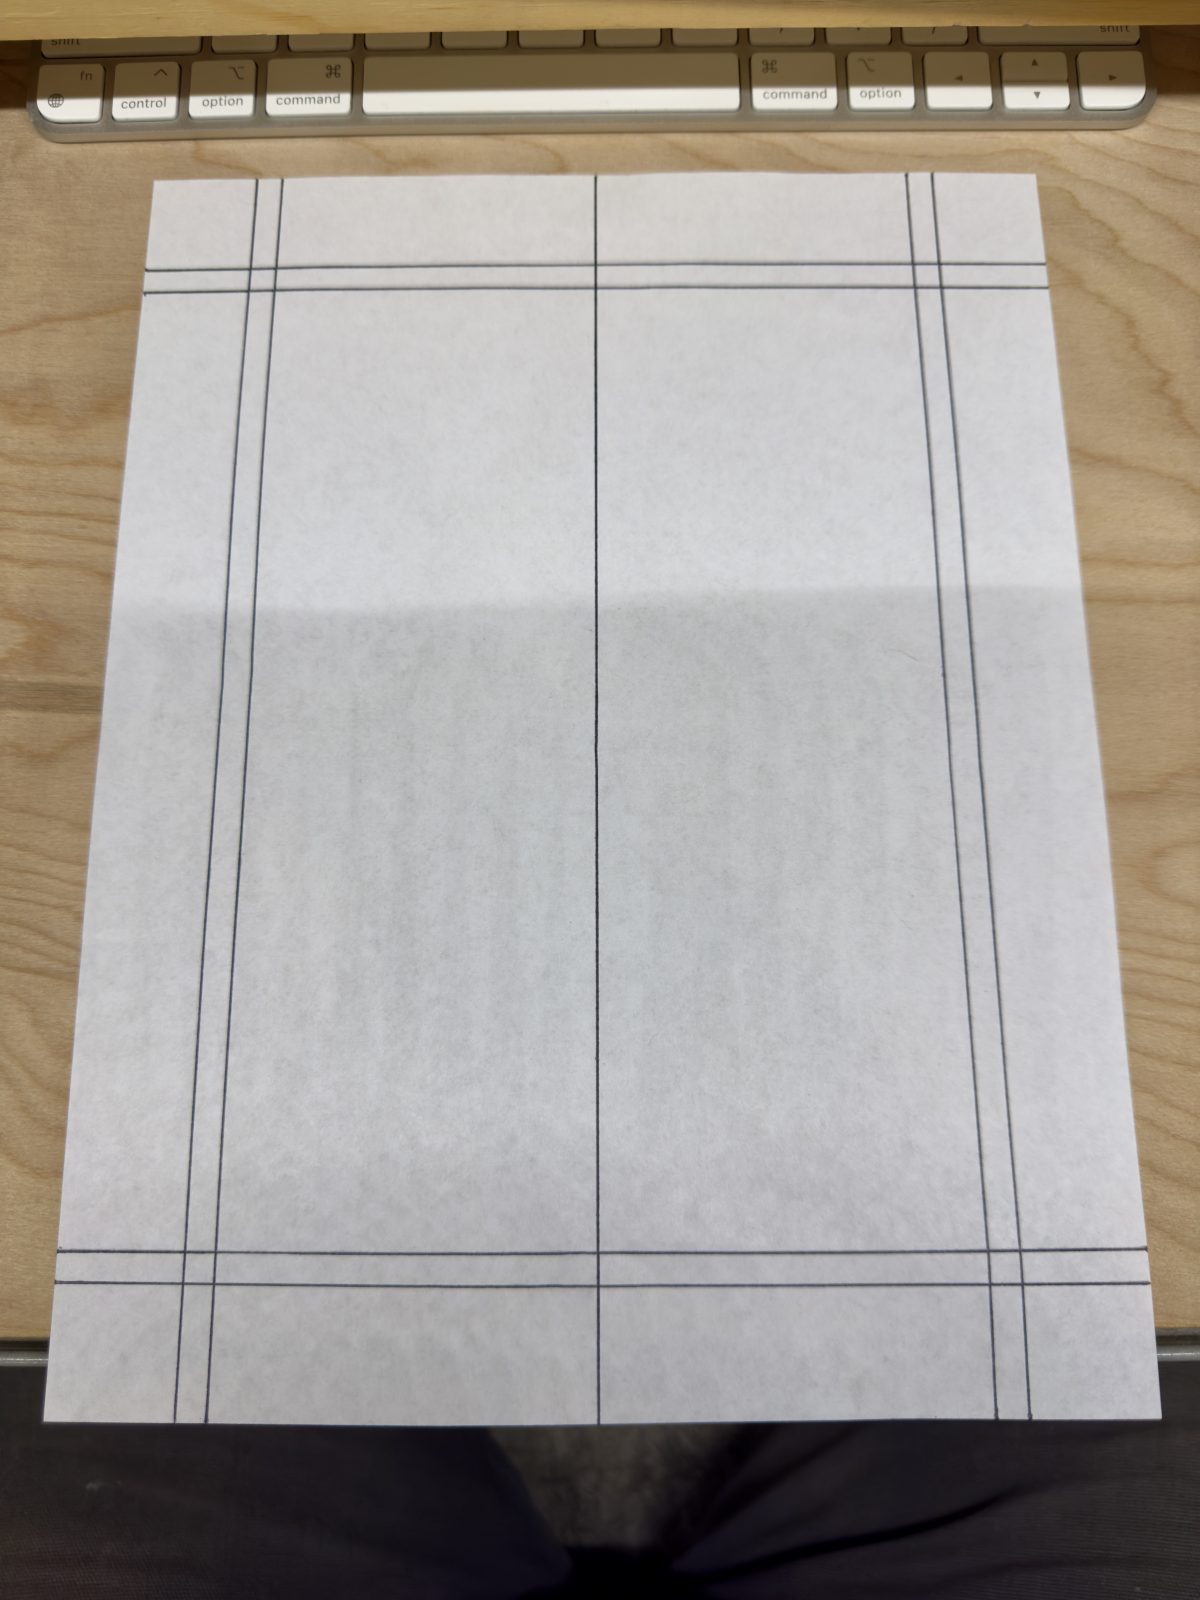
Having seen the idea at a recent type-in, I looked online to see if there was a printable one already created. Not that I could find at least. So I decided it would be quicker to create my own. The longest part of it all was trying to decide on what dimensions to use for the margins. There was a debate online as to whether 1″ or 1.25″ was the best. So why not both I said. All four margins have markings for both. In addition to a center line, for those times you need it. Left / Right / Center can be done with the ruler on the typewriter itself. Top and Bottoms cannot. At least on the machines I use, 1910’s to 1950’s.
First pass was lined with an ultra fine sharpie. I then scanned it into a PDF. Printers are always a pain. Most of the time it takes it all the way to reinstalling the drivers to get it to work. Another great reason to switch to typewriters. They just work, even stored for generations later to find. When printing it out again it almost came out perfect. Left / Right margins are an exact match of original. Top and Bottom, were off about a millimeter. Not worth fighting to correct it. The settings I used was to print it a 100%, zero margins and borders. Of course printers to not print all the way to the edge. Maybe they make ones that do, but I have never owned one.
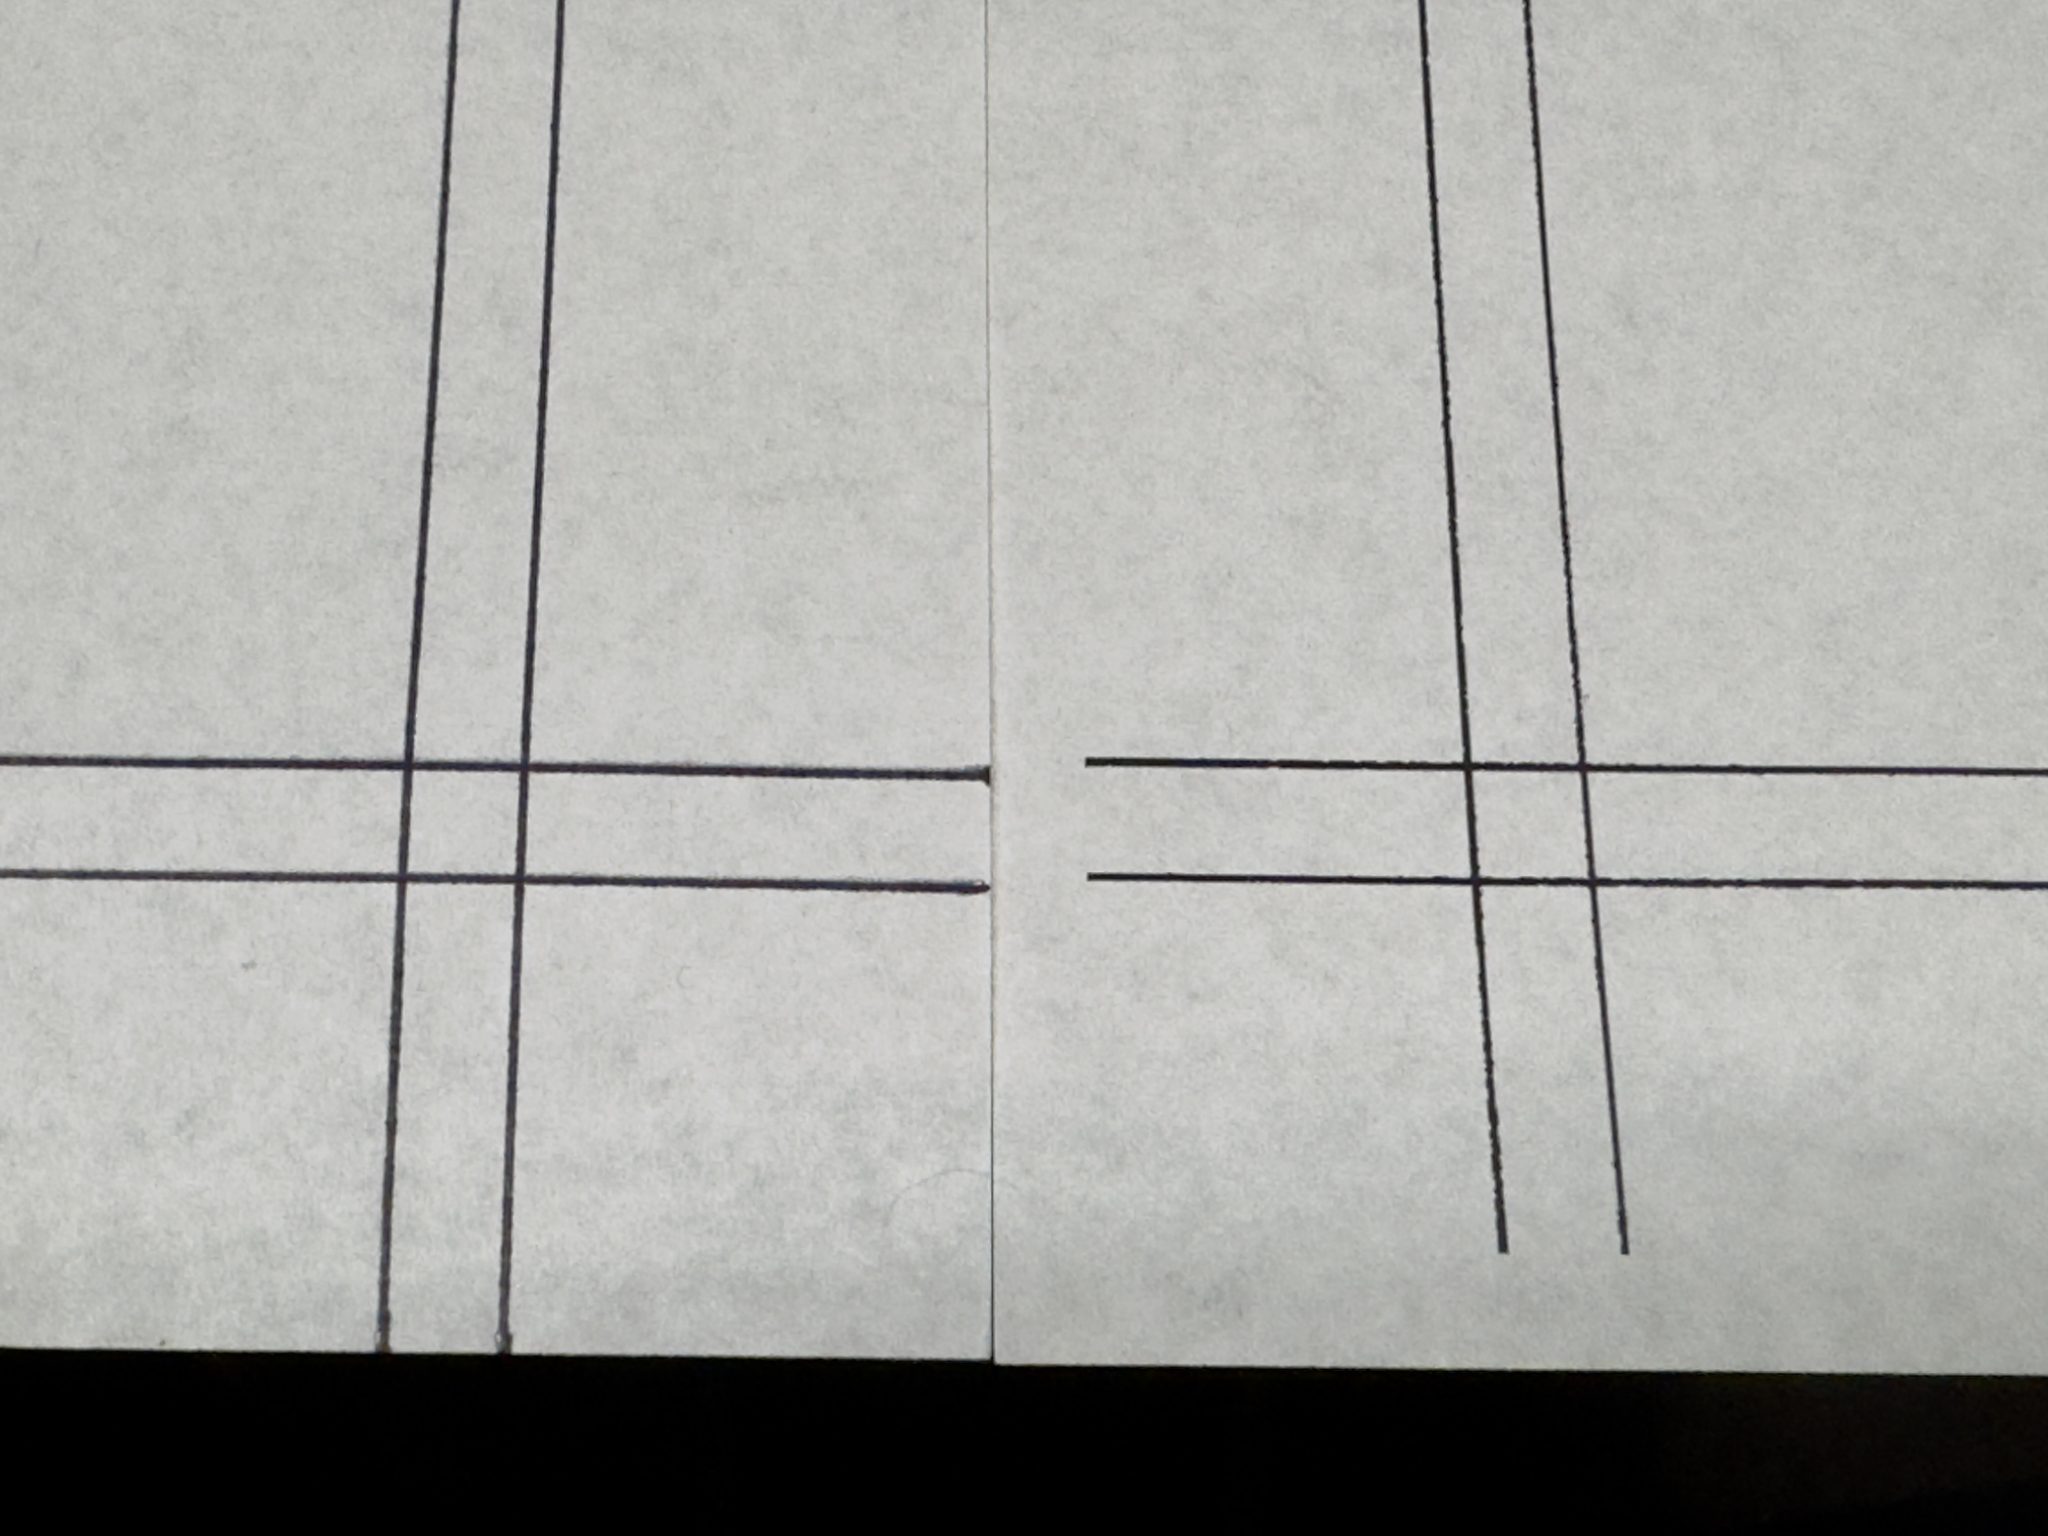
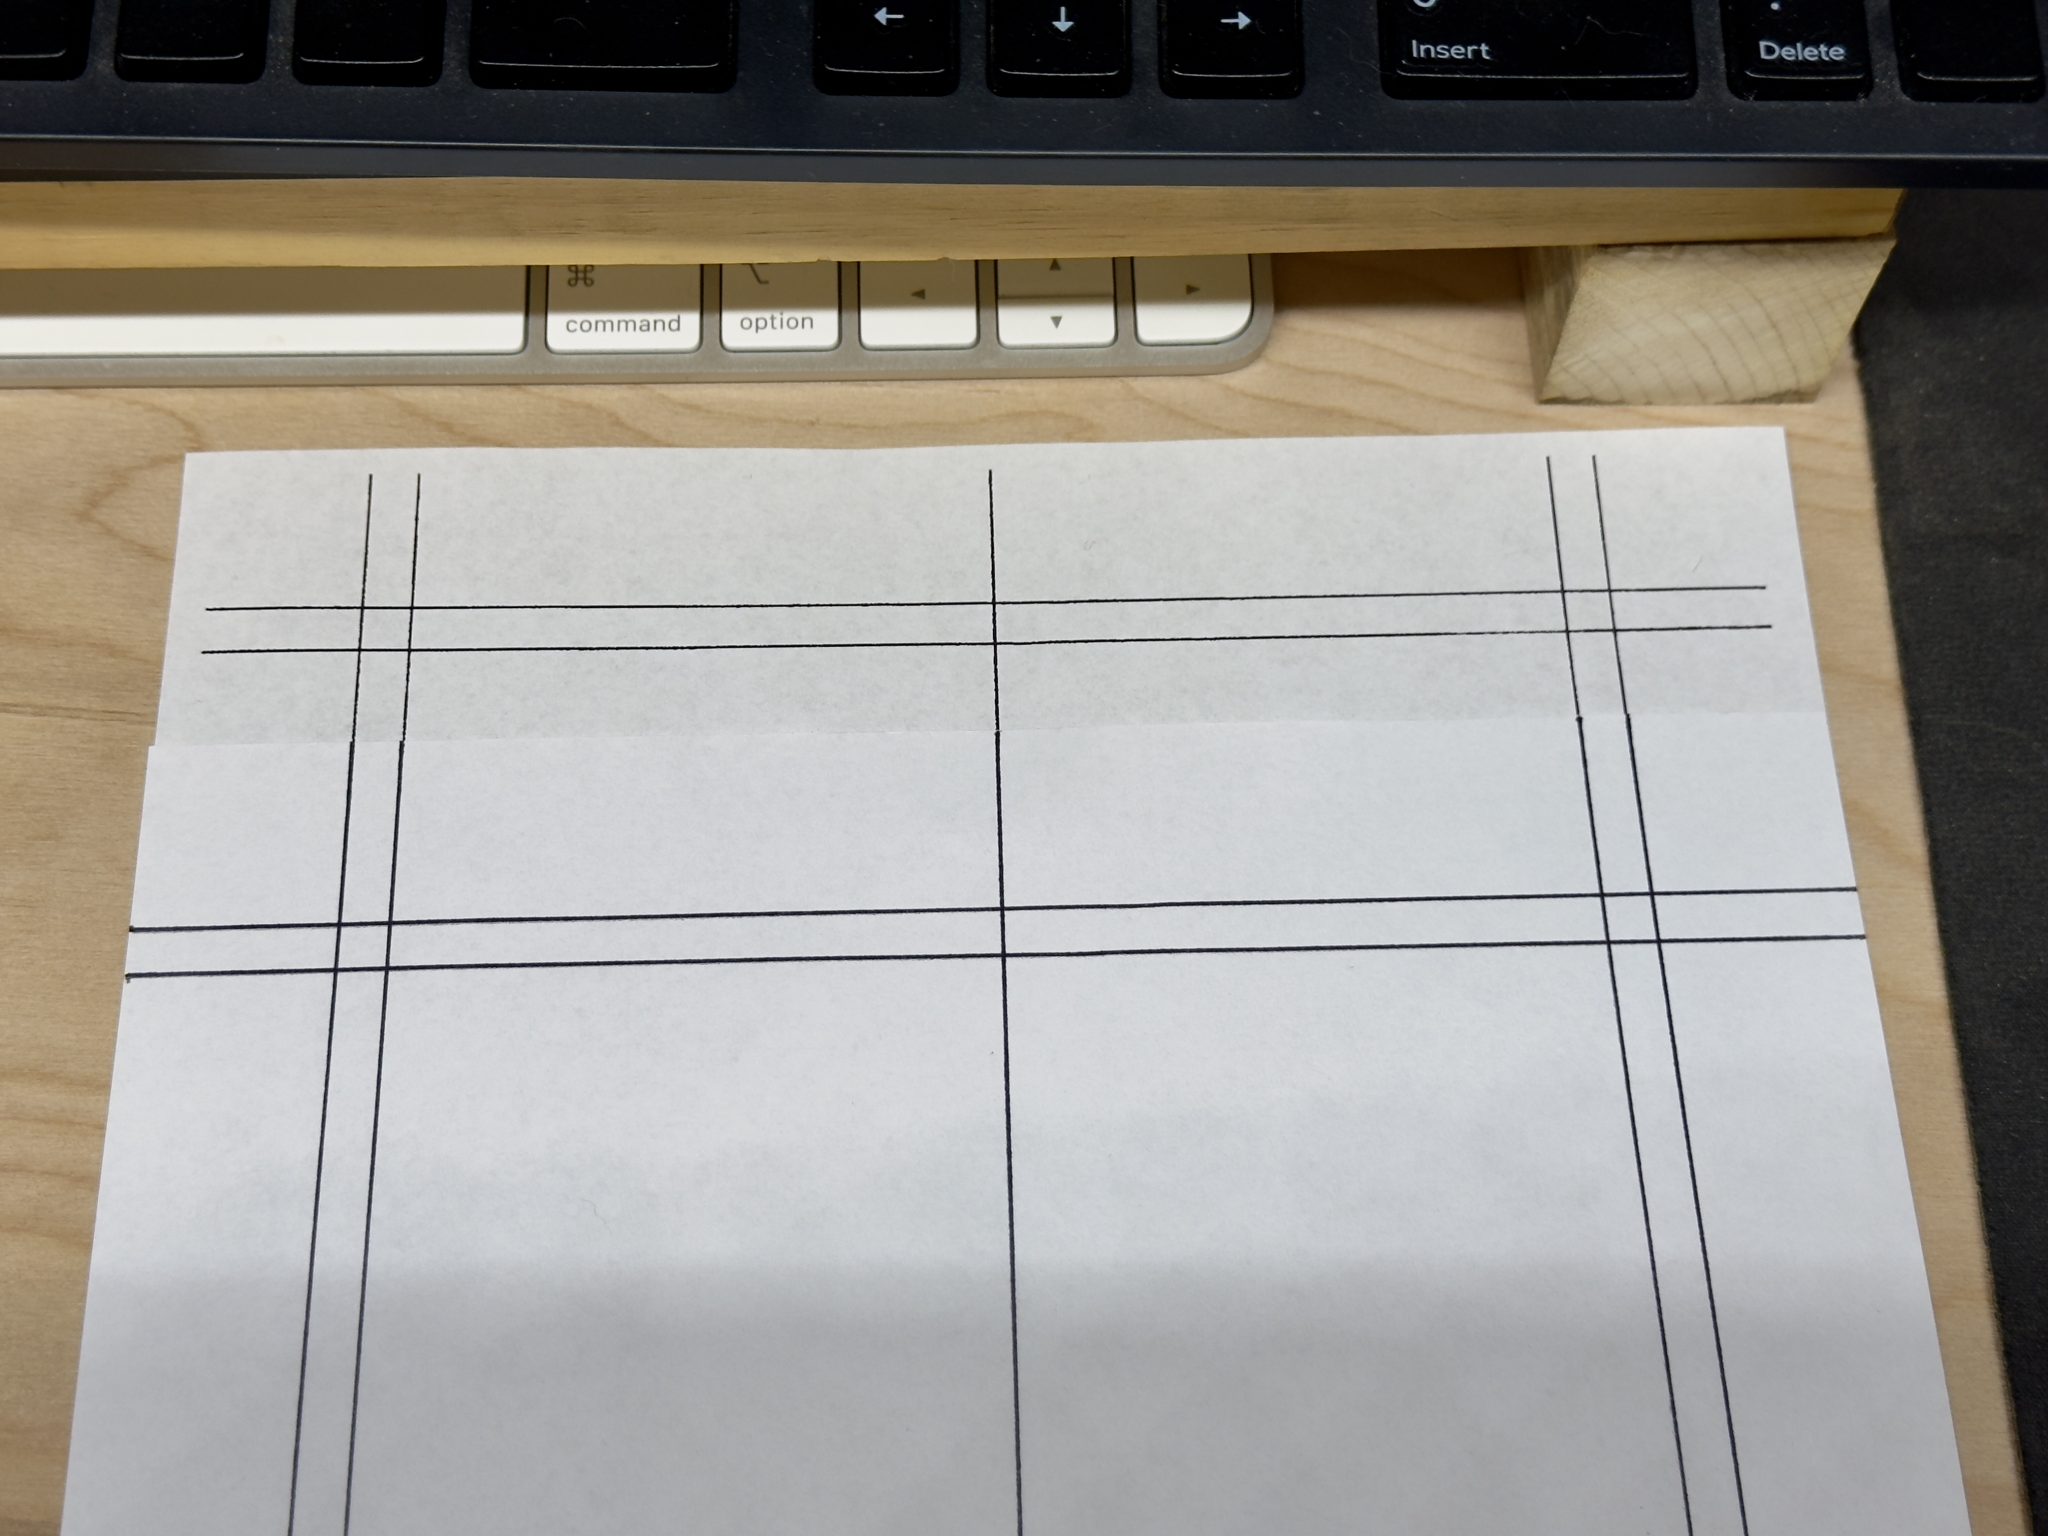
Here is scan of the original lined with fine sharpie. I may scan in one with the thicker regular sharpie lines.